Paint Protection
What Causes Swirl Marks?
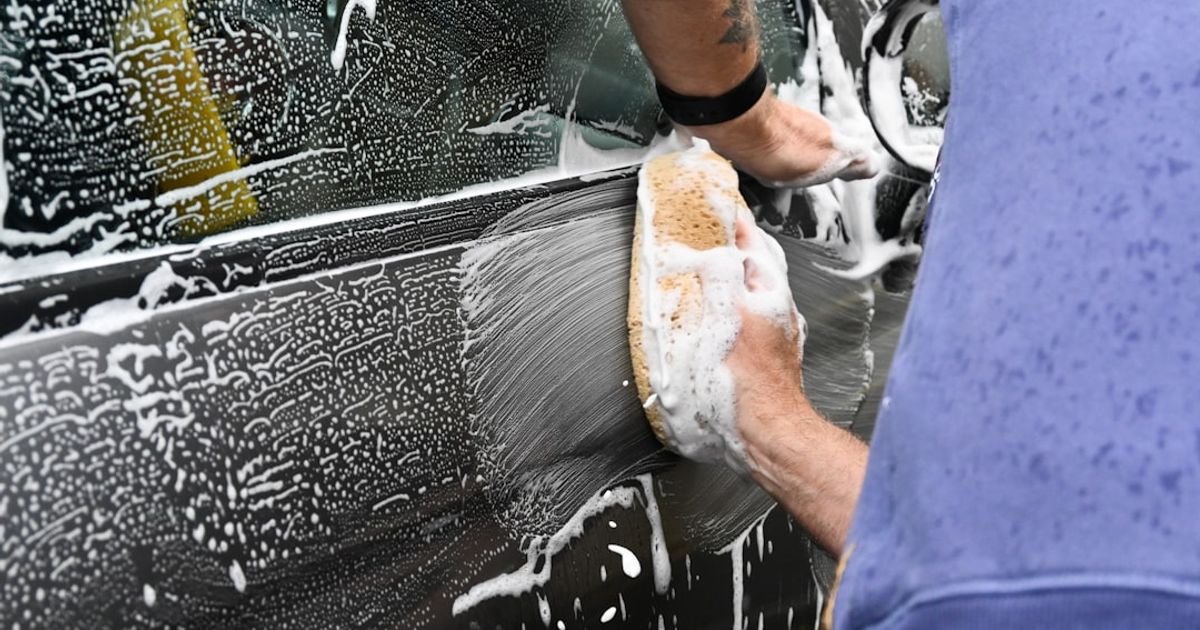
Swirl marks are caused by dragging abrasive particles across your paint, and in almost every case the dragging happens during washing and drying. Automatic car washes with brushes, dirty wash mitts, dry wiping dust off panels, and old bath towels used for drying are the four biggest culprits. Each one grinds grit against the clear coat and leaves thousands of fine circular scratches that scatter light, which is why swirled paint looks hazy in sunlight instead of sharp.
The frustrating irony: swirl marks are almost never caused by the road, the weather, or bad luck. They are caused by cleaning the car. Which is also the good news, because it means they are almost entirely preventable.
What swirl marks actually are
Under magnification, a swirl mark is just a shallow scratch in the clear coat, the transparent top layer of your paint. They read as circular because you see whichever portion of each scratch catches the light, and under a point light source like the sun those highlights form the spiderweb halo everyone recognizes. Dark cars show them worst because there is more contrast between the reflective scratch and the deep color beneath, but a white car parked next to it is usually just as swirled. You simply cannot see it.
Depth is what separates a swirl from a real scratch. Swirls live in the top microns of clear coat, which is why machine polishing can remove them completely, and why your fingernail glides over them without catching.
The five things that cause swirl marks
- Brush-style automatic washes. The single biggest cause we see. Those spinning brushes carry grit from every car that went through before you, pressed against your paint at speed. Even “soft cloth” tunnels swirl paint over repeated visits.
- Dirty or cheap wash media. One drop of a sponge onto the driveway, one mitt that never gets rinsed, and you are sanding the car with the dirt you just removed. Sponges are worse than mitts because their flat face traps grit against the paint instead of drawing it up into the fibers.
- Washing without lubrication. Wiping a dusty panel with a dry rag, or a quick “rinse-less” wipe with plain water and a towel, drags particles with nothing to suspend them. This includes flicking dust off the hood with your sleeve in the parking lot.
- Bad drying technique. Old bath towels and aggressive circular buffing while drying cause a huge share of swirls. The wash was careful; the drying undid it.
- Dirty tools downstream. Car covers on dusty paint, dusters, and even automatic wash “spot free” towels shared across customers all do the same quiet damage.
How to prevent them
Prevention is cheap: hand wash with the two bucket method and a quality microfiber mitt, use plenty of soap for lubrication, work top to bottom so grit from the dirty lower panels never touches the roof, and dry with a plush microfiber towel patted or dragged in straight lines. Keeping a layer of protection on the paint helps too; a sealant or ceramic coating makes the surface slicker, so grit slides rather than digs, and makes the car easier to wash gently.
None of that fixes what causes swirl marks after the fact, though. Prevention only protects the paint from today forward.
How to remove the swirls you already have
Because swirls are scratches in the clear coat, the only true removal is paint correction: machine polishing that levels the surrounding clear coat down to the bottom of the scratches. For typical wash-induced swirls, a one step paint correction, from $285 at our shop, removes the large majority and restores the sharp, glassy reflection the car had when it was new. Deeper wash damage layered over years may need a two step. We covered the distinction in paint correction vs polishing.
Skip the “swirl remover” glazes sold at parts stores, or at least know what they are: filler products that hide swirls until a few washes strip the oils. There is a place for that before a car show. There is no place for it in a paid service being sold as correction.
Break the cycle, then protect the result
The correct order matters: fix your wash routine first, then correct the paint, then protect it. Correcting paint and returning it to a brush tunnel just rents you a few months of gloss, and every correction spends a little of your finite clear coat.
If your paint already has the spiderweb haze, bring it by the shop on Route 19 in Wexford. We will put a light on it, show you exactly what is there, and quote the correction that actually fits the damage. Book a visit and get your reflection back.